This post contains affiliate links. Please see our disclosure policy.
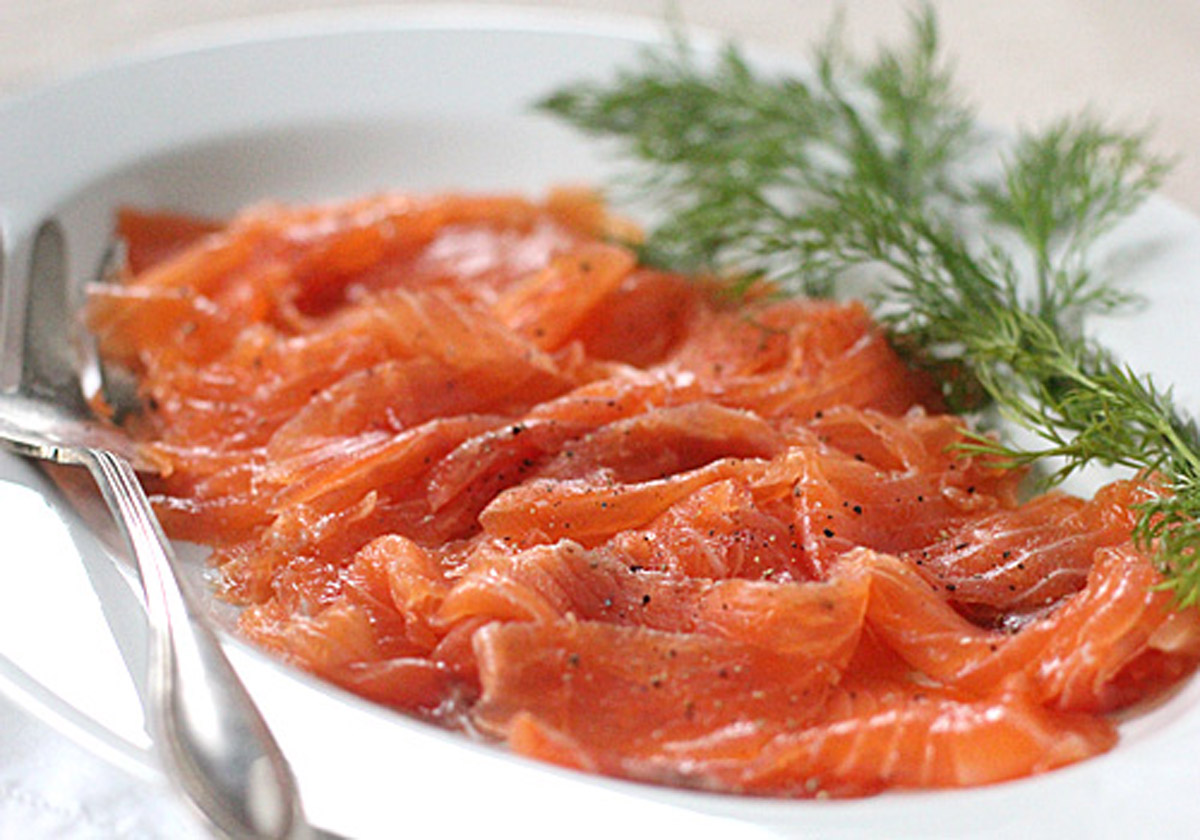
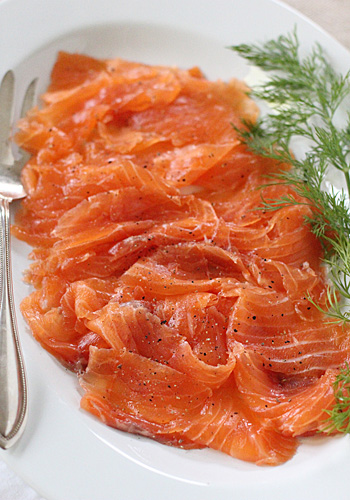
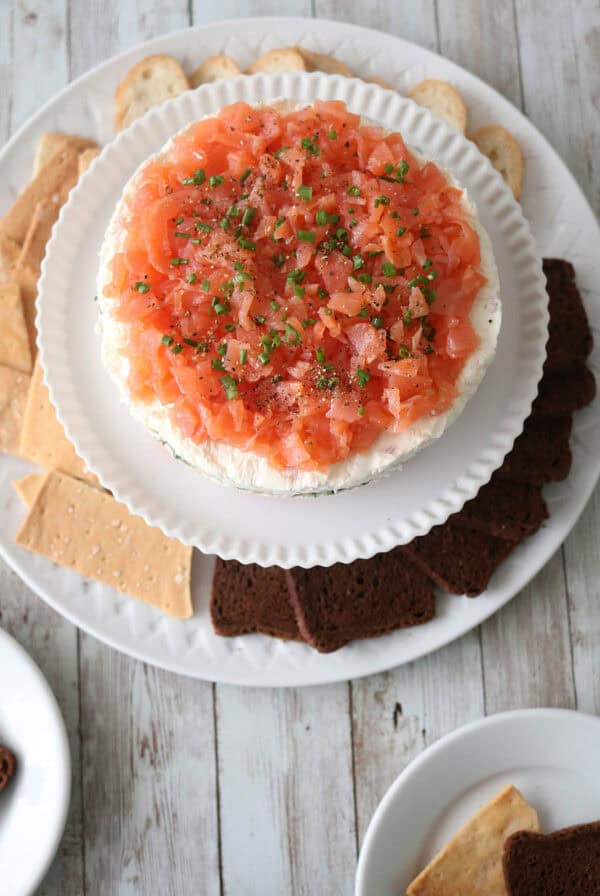
One normally associates gravlax with formal cocktail parties and elegant brunches, without thinking of DIY. But think of the satisfaction of curing your own great-tasting salmon at home. It’s really easy to make in your own kitchen, and no cooking is required. A few days of advance prep work, the freshest salmon you can find, and a few other pantry staples will deliver a batch of gravlax with a nice, clean flavor devoid of that, er, fishy essence that store-bought lax can’t quite seem to shake. On top of the great flavor and “do-it-yourself” satisfaction, it’s cheaper.
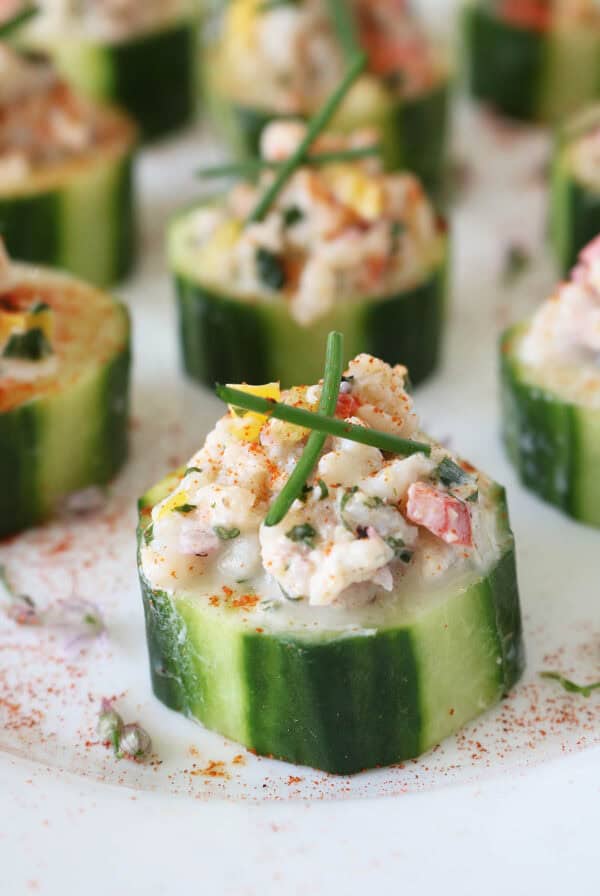
While salt is the primary curing agent, I also use equal amounts of sugar to balance the salt and to keep the salmon soft. Too much salt results in a tough, leathery cured flesh. I also use a bit of vodka to aid in the curing process. Once cured and sliced, the salmon slices become the perfect appetizer, brunch course, or cocktail nibble that can be garnished and paired with an infinite amount of trimmings and bases, like capers, red onion, radishes, herbs, lemon zest, blinis, potatoes, eggs, and our favorite way– Homemade Bagels with cream cheese and fresh chives from the garden.
I appreciate a visual process, so I have included a few step-by-steps to help you along the way. I always make the entire recipe even if it is just the five of us. We can easily go through one fillet for our Sunday brunch. The other fillet goes in the freezer for another time. Thawed overnight in the refrigerator, it can be brought to life for brunch duties another time.
 In a small bowl, mix together the salt, sugar, and black pepper. Sprinkle half of the mixture over each fillet and rub it in with your fingers. Drizzle one tablespoon of vodka over each fillet.Spread the dill sprigs over one fillet.
Lay the other fillet, flesh side down, on top of the dill-covered fillet.

Tightly wrap the fillets in the plastic wrap.

Place inside a heavy duty plastic bag. The bag eliminates the need for basting the salmon with the accumulated liquid. This method is self-basting

Place the salmon in a baking dish, top with another baking dish or plate and weight the top with cans or other heavy objects to compress the fish; refrigerate. Twice a day, turn the salmon package over, replacing the weights. (A good deal of liquid will accumulate as the salmon cures).
With a sharp knife held at a very flat angle, start slicing a few inches in from the end of the fillet with a back-and-forth sawing motion to remove a thin slice.

When the blade reaches the skin, shave the slice off- don’t cut through the skin.
“As an Amazon Associate, I earn a commission from qualifying purchases that you make from the links within my posts and recipe cards with no added cost to you.”
Home Cured Gravlax
Ingredients
- 2 pounds center-cut salmon fillet, skin on and pin-bones removed
- ¼ cup kosher salt
- ¼ cup granulated sugar
- 1 teaspoon freshly ground black pepper
- 1 small bunch fresh dill sprigs
- 2 tablespoons vodka
Instructions
- Cut the salmon fillet in half crosswise so you have two pieces about the same length and width. Place the fillets skin side down on a large sheet of plastic wrap.
- In a small bowl mix together the salt, sugar, and black pepper. Sprinkle half the mixture over each fillet and rub it in with your fingers. Drizzle one tablespoon of vodka over each fillet. Spread the dill sprigs over one fillet and lay the other fillet, flesh side down, on top of the dill-covered fillet. Tightly wrap the fillets in the plastic wrap and place inside a heavy duty plastic bag. Place the salmon in a baking dish, top with another baking dish or plate and weight the top with cans or other heavy objects to compress the fish; refrigerate.
- Twice a day, turn the salmon package over, replacing the weights. (A good deal of liquid will accumulate as the salmon cures). The gravlax is done when the flesh is opaque, about 3-4 days.
- When ready to serve, remove the dill from the salmon and wipe clean and dry with paper towels. With a sharp knife held at a very flat angle, start slicing a few inches in from the end of the fillet with a back-and-forth sawing motion to remove a thin slice. Start each succeeding slice a bit farther in; always cut at a flat angle to keep the slices as long and thin as possible. When the blade reaches the skin, shave the slice off– don’t cut through the skin.
- After cutting as many of slices as you wish to serve, fold the attached flap of skin over the remaining fish and wrap well in plastic. The gravlax can be stored in the refrigerator for up to a week or frozen for up to a month. Thaw in the refrigerator before serving. Enjoy!
Nutrition
Nutrition information is automatically calculated, so should only be used as an approximation.
Beautiful! Thanks for making me feel that I too can make this!
Thanks so much for including photos! I must make this!
I have always wondered how to make this… I was always wary of raw fish at home, but I've been working on a food safety certificate and I'm learning that as long as you know how to do it right and how foods react, it's no so hard!
Isn't gravlax wonderful! I discovered a recipe and made it for my parents over Christmas – now I'm well and truely hooked. So much cheaper than buying smoked salmon and I prefer the flavour. N.B. the sugar helps with the cure too. There are two pieces of salmon fillet lurking in my freezer …….. and I'll buy more when it is on special.
Your step by step photos are so helpful. Thank you for sharing,
Michelle downunder in Wellington, New Zealand
Absolutely yummy recipe! Loved the clicks!! https://cosmopolitancurrymania.blogspot.com
This looks amazing and easy, just like the version I watched Ina Garten make. I might have to give it a go, since I love gravlax!
Wow, I've gotta try that!!!
Do you have to smoke the salmon? I don't remember this part of the recipe.
No, you do not have to smoke the salmon. It is cured with salt.