This post contains affiliate links. Please see our disclosure policy.
I know there are people out there that don’t like chocolate, but is there anyone that doesn’t like ice cream?? I cannot think of one.
To me, ice cream is the perfect frozen treat. It’s kind of like a work of art. You start with a blank canvas and go to any sweet or savory flavor town from there. It is enjoyed anytime of year, it helps what ails you at times (especially if it is turned into a milk shake), it is portable (bowl, dish, cone, etc…), it can be made suitable to a particular diet (vegan, lactose intolerant, or dairy protein allergy), it takes certain desserts, like apple pie, to a new level, it conjures up many of memories with friends and family (I can think of so many), it…let’s face it, it’s the best. I mean, is there really anything bad about ice cream? Oh yeah, BRAIN FREEZE! But even brain freeze is a little fun and makes us laugh at one another.
Wait, I did think of one problem. What if you don’t have an ice cream maker to make it at home? Cue this heirloom recipe!
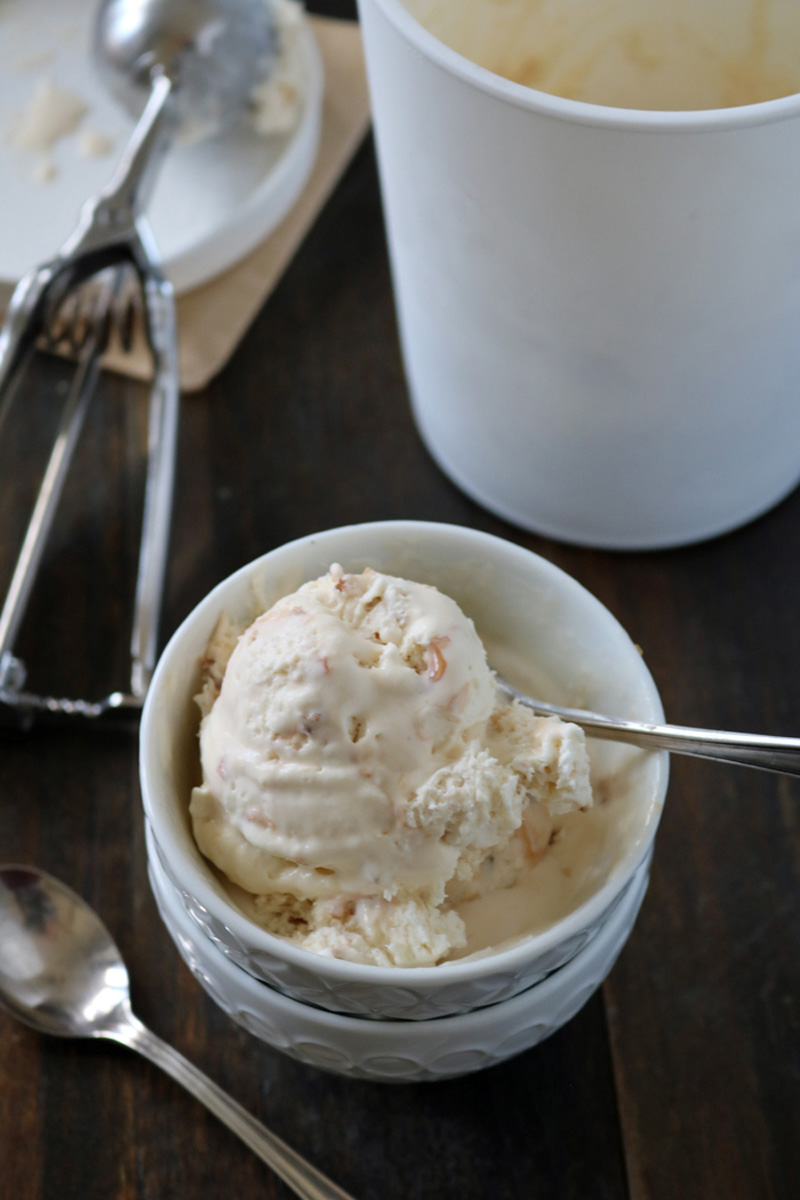
I could channel my inner “Alton Brown” and explain the science behind ice cream, but I will keep it simple. Instead of cooking a custard mixture of eggs and cream, chilling it completely, and then letting a machine incorporate air to keep it from freezing rock hard, a no-churn ice cream incorporates air by beating or whipping heavy cream. Sweetened condensed milk and corn syrup are added as sweeteners and also to keep the cream from freezing rock hard. Once that is done, the imagination can go wild with flavor ideas. So, I am starting this no-churn ice cream flavor journey off with one of my husband’s favorites: caramel with a twist!!
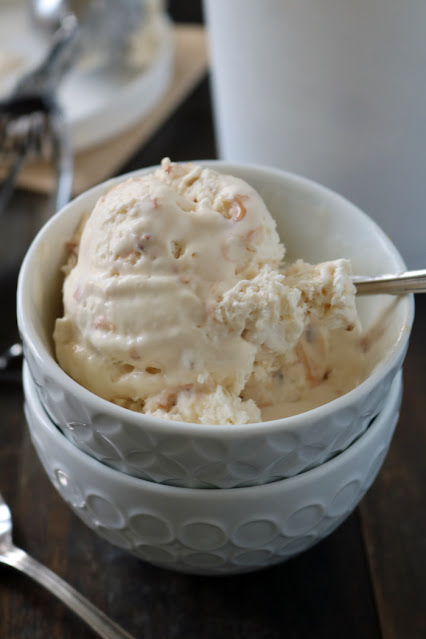
Salted caramel with coconut (that’s the twist). I have literally seen him eat half a quart in one sitting. He could really eat the whole thing, but he has to talk to himself about strength and willpower. Please don’t tell him I told you!
There is one critical culinary element that I must discuss. For those of you who know the difference between heavy cream, heavy whipping cream, and whipping cream, you can just skip on down to this incredible recipe. The rest of you, keep your reading glasses on.
How confusing is it when you go to the store, and you have all of these choices for cream? For example, you need one for making whipped cream, so which one do you choose?? Well, I will explain it to the best of my ability. All three of them will make whipped cream, but not all whipped cream will be the same. Whipping cream (or light whipping cream) is between 30-36% milk fat. So if you whip it, you will only get soft peaks that will eventually weep if kept at room temperature or refrigerated too long. I really only use whipping cream if I am making a light, sweet, or savory sauce. What about heavy cream and heavy whipping cream?? Is there a difference? NO! Both creams must have at least 36% milk fat. Once whipped, that higher fat content will give you those nice stiff peaks. Does that make sense? Good, because heavy cream, or heavy whipping cream, is what you will need for this recipe.
Ok, now that we have that down, let’s talk about the “no churn” technique. The original recipe uses a blender which makes for a really quick whipping time, but if you don’t have a blender you can use a stand mixer fitted with the whisk attachment. Both appliances will whip the cream enough to incorporate the air we want to achieve stiff peaks. I have noted both methods in the recipe below. And with no heat involved, this is a great recipe for kids to help with.
I apologize for keeping your eyes open for too long, but now we must move on to flavor 😃.
Salted Caramel with Coconut…mmmm!!! Makes my jaw crack thinking about it (and yes, I have to think about it because my husband ate it all)! You will need the All-Purpose Caramel Sauce that I previously shared, but you can certainly use a good-quality store-bought caramel sauce. The recipe also calls for toasted coconut. Obviously, we can’t get toasted coconut at the store, so I just measure out about ⅓ cup (it’ll shrink once toasted) and toast it in a non-stick skillet over medium-low heat, stirring frequently, until golden brown. Transfer it to a plate to cool before using. What if you don’t like coconut or can’t eat it? Just leave it out, and then you’ll have to change the name of the ice cream 😉 and that’s ok. What is not ok is if you do not make this wonderfully easy and super delicious frozen treat!
Lastly (I promise I will stop typing in a second), I have 1-quart plastic containers with silicone lids that I like to use (I bought them at Williams-Sonoma), but you can freeze it in a metal loaf pan or even a metal 8-inch square pan to freeze the mixture more quickly. Ok, I am done. Now go have fun in the kitchen!!
“As an Amazon Associate, I earn a commission from qualifying purchases that you make from the links within my posts and recipe cards with no added cost to you.”
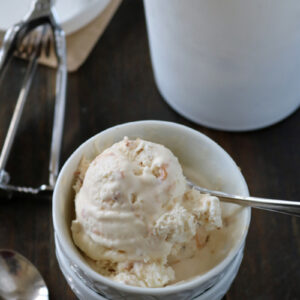
No-Churn Salted Caramel-Coconut Ice Cream
Ingredients
- 2 cups heavy whipping cream, chilled
- 1 cup sweetened condensed milk
- ¼ cup plus ⅓ cup caramel sauce, divided (Homemade All-Purpose or store bought)
- ¼ cup whole milk
- 2 tablespoons granulated sugar
- 1 teaspoon pure vanilla extract
- ½ teaspoon kosher salt
- ¼ cup sweetened shredded coconut, toasted and chopped
Instructions
- In a blender, process the cream until soft peaks form about 20-30 seconds. Scrape down the sides of the blender until stiff peaks form, about another 10-20 seconds. Using a rubber spatula, stir in the condensed milk, ¼ cup caramel sauce, whole milk, sugar, vanilla and salt. Process until thoroughly combined, about 20 seconds longer.
- Pour the mixture into an 8 ½ x 4 ½-inch loaf pan, an 8-inch square pan, or a 1-quart silicone container. Gently stir in the coconut. Dollop the remaining ⅓ cup of caramel on top and swirl it into the cream mixture using the back of a knife or the tines of a fork. If using a metal baking pan, place a piece of plastic wrap flush on the surface of the ice cream. If using a silicone container, place the matching lid on. Freeze until firm, at least 6 hours. Enjoy!
Notes
Nutrition
Nutrition information is automatically calculated, so should only be used as an approximation.